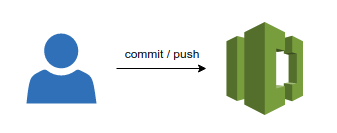
Codeシリーズはまずは使ってみる!
概要(最低限)
- ソースコードを管理するGitリポジトリサービス
- サードパーティ(SourceTreeなど)利用可能
- プルリクエスト機能が利用可能
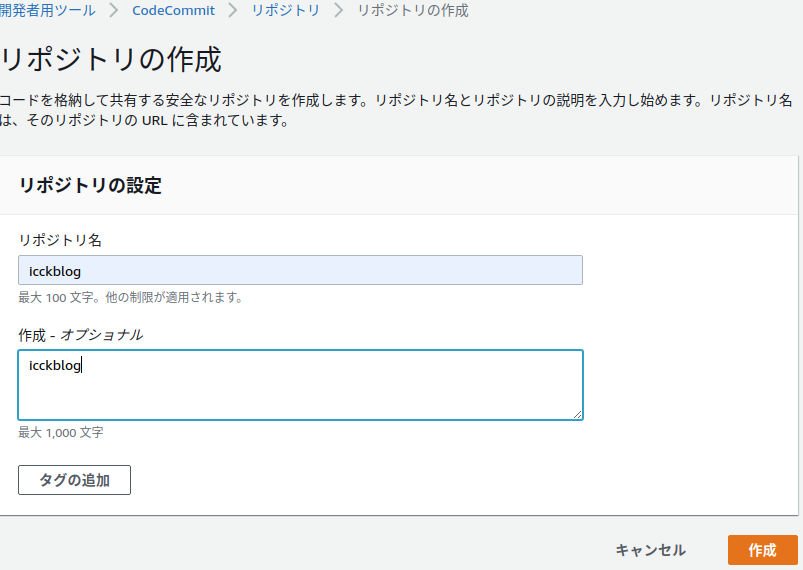
リポジトリの作成
- リポジトリ名を入れて、作成ボタン > 完成!!
- はじめにマネジメントコンソールでCodeCommitを選択しリポジトリを作成します。
- 名前を選択するだけ、簡単ですね。

- 次にgitを使う端末で設定をしていきます。
- 今回はAWS CLIを設定していることが前提になります。
git config --global credential.helper '!aws --region ap-northeast-1 codecommit credential-helper $@'
git config --global credential.UseHttpPath true

git clone [URLのクローン]
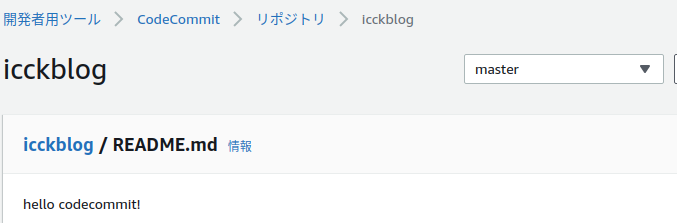
コミット&プッシュしてみる
- 通常のgitと同様の利用方法が使えることを確認します。
$ echo "hello codecommit!" > README.md

$ git add -A

$ git commit -m "add readme"

$ git push origin master
プルリクエストしてみる
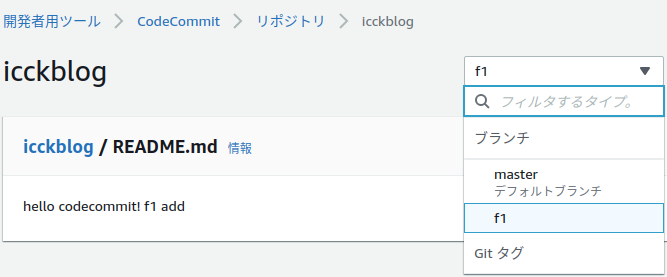
- ブランチを作成しファイルを修正、コミット%プッシュします。
(master) $ git checkout -b f1
(f1) $ echo "f1 add" >> README.md
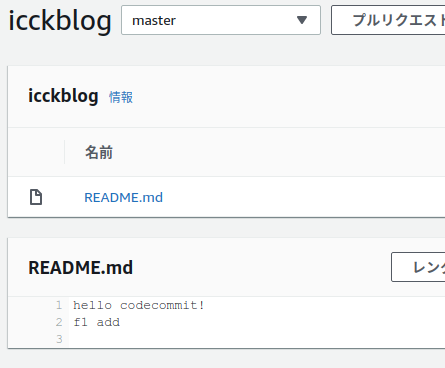
(f1) $ cat README.md
hello codecommit!
f1 add
(f1) $ git add -A
(f1) $ git commit -m "f1 add"
(f1) $ git push origin f1
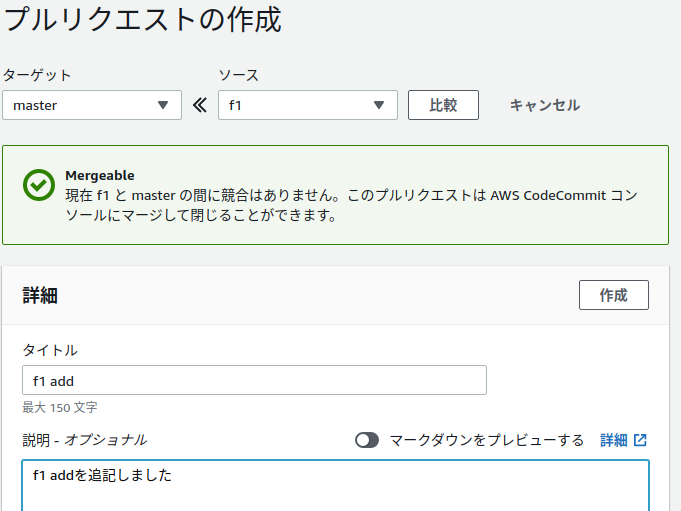
- さっそくプルリクエストしていきましょう。
- 作成ボタン>プルリクエストを作成します。

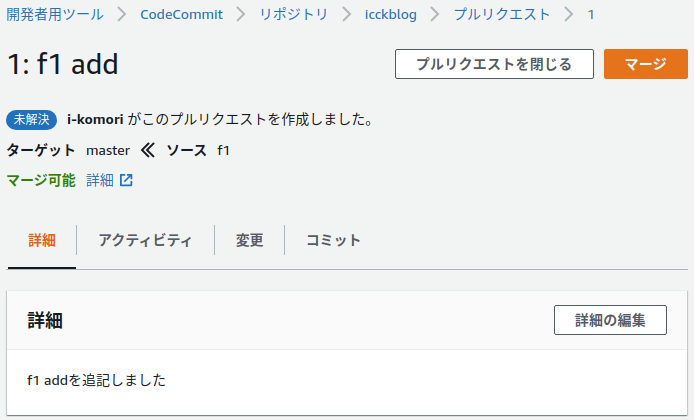
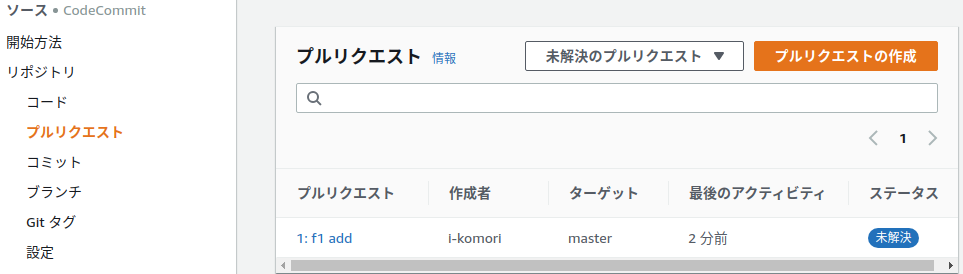
- プルリクエストは左のプルリクエストから確認できます。
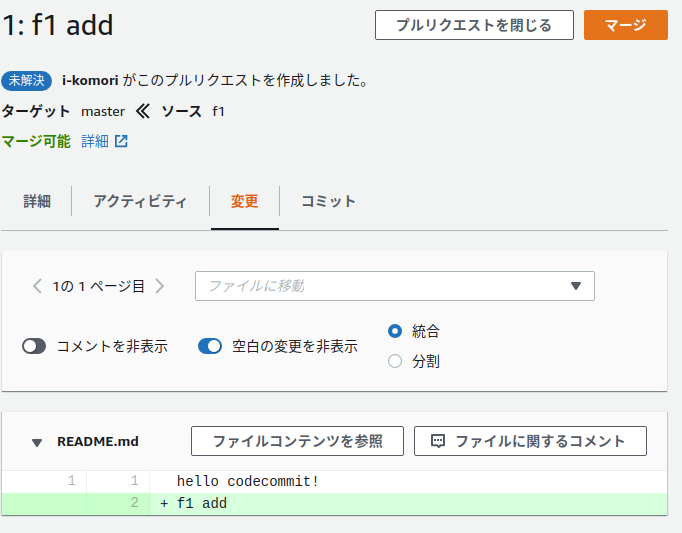
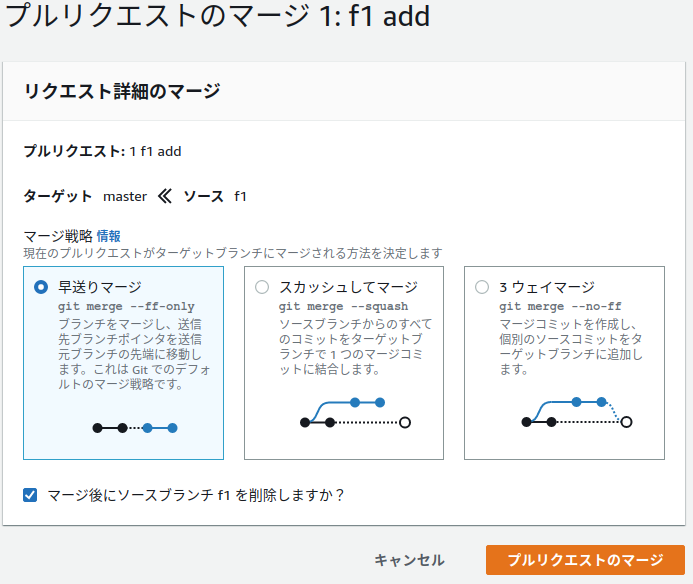
- 未解決のプルリクエストを選択してマージしていきます。

さいごに
- CodeCommitのUIはシンプルでGitHubの利用経験があれば学習コストはほぼゼロでした。
- さくっと共有できるプライベート環境を作りたいときの選択肢としてはありかも知れません。